|
Andrew Davidhazy
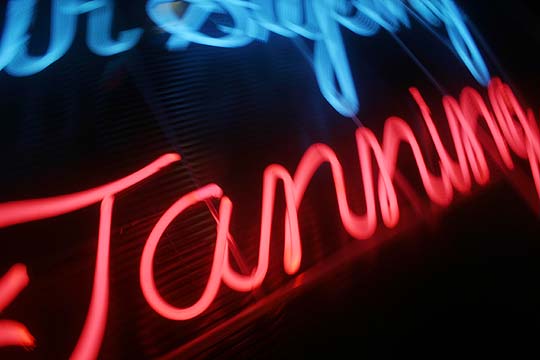
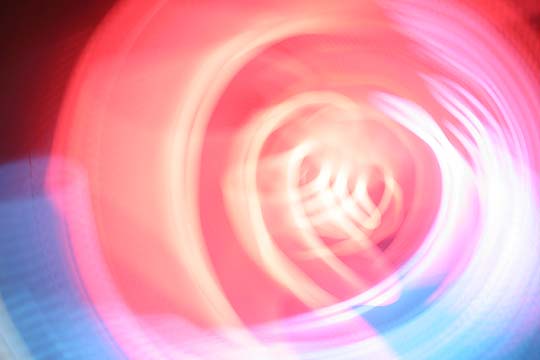
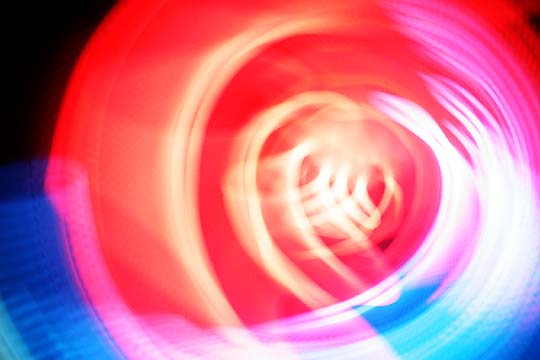
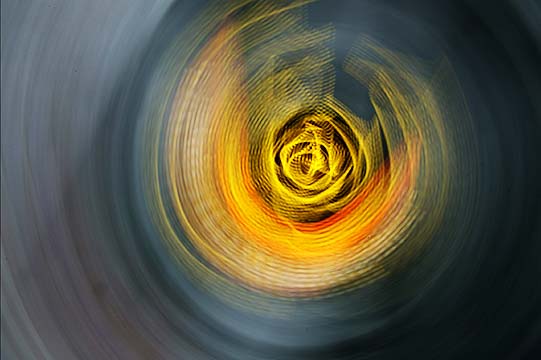
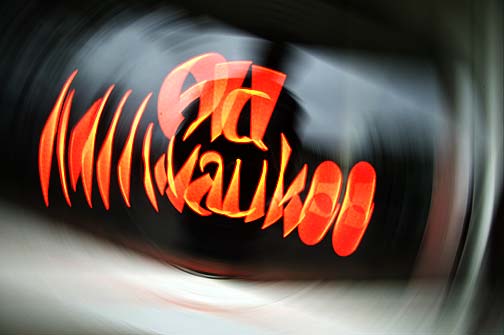
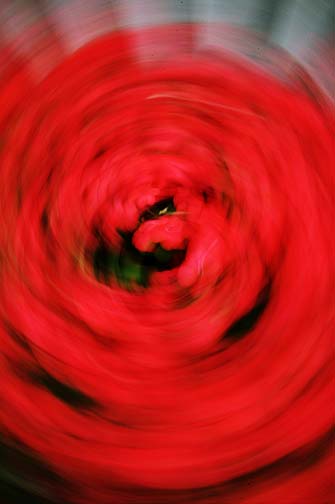
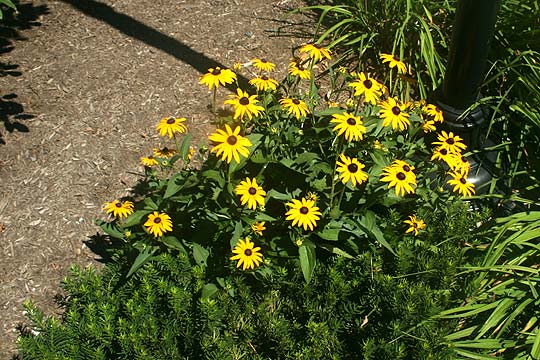
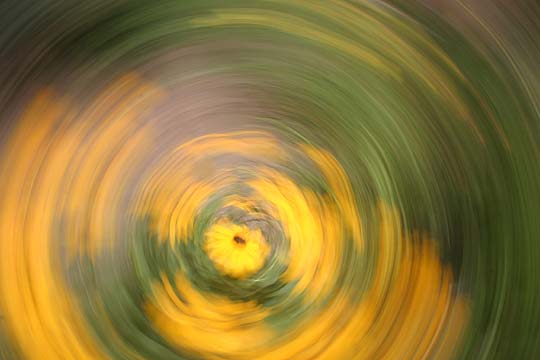
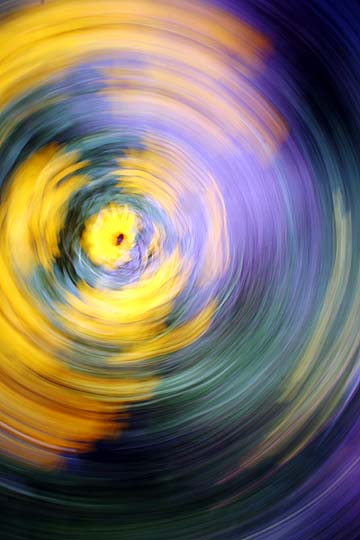
Most of the time there is a desire to make photographs of action events that do not exhibit any motion blur. Most often this applies to sports photography but usually to more common picture-making situations as well. We control the degree of motion blur in most photographs by judicious use of exposure time. To end up with blur-free photographs we also rely on other techniques, such as panning along with a moving subject, to keep the image relatively still at the image plane while the exposure takes place. However, interesting visual effects may be the result of experimenting with methods that incorporate intentional blur as a design element within our photographs. In standard situations we might give the impression that a subject is in motion by selecting an exposure time that results in a small amount of blur to be visible in the photograph. This blur implies motion. When done well this technique can improve the appeal and visual impact of action photographs. In this exercize we will be dealing with stationary subjects and introduce blur purposefully to add a new, unusual, dimension to the resulting images. Canon cameras, thanks to their low noise when used in extended exposure operation are particularly suitable for this type of experimentation. Consider this as an initial subject. We are all familiar with neon lights used to advertise or announce all kinds of things. When included in a photograph they add a colorful aspect to most scenes. What is not exploited too often, however, is the added interest that results from moving the camera while recording such subjects. To see neon signs in a different light first find a subject that is colorful and set in a location without distracting extraneous surrounding details. Obviously you will generally be shooting scenes incorporating neon signs or lights in dimly-lit, dark, dusk or night-time conditions. Set the camera to manual exposure mode and select an ISO of 100 or 200. Select an aperture of f/8 and an exposure time of something like 1/4 to 2 seconds. With the camera on a tripod or hand-held focus on the sign and make a preliminary composition leaving space around it for possible inclusion of the sign's image in those areas. Start the exposure by putting the camera in motion, rotating it using one of the tripod head's rotation axes or manually moving the camera. As you sense that a steady motion has been achieved manually trip the shutter. Or, set the self-timer for delayed, automatic, start of the exposure. Just before you sense the shutter is about to open start moving the camera slowly (or quickly as this is a relatively uncontrolled exposure situation) in a circular fashion. You should still be moving the camera when the exposure ends so as not to overexpose any individual location in the final record. Make adjustments to the ISO, aperture or exposure time based on a review of the image that you recorded. While you are at it you might check on the image histogram to ensure that you have captured the image information at an appropriate exposure level. Here is a sequence of images starting with a "standard" rendition of a neon sign and progressing through what the record looked like as it looked when originally captured and followed by a reproduction that might be considered a final, improved, version. Once you have made your first photograph experiment with variations on the theme and in addition to rotating the camera try panning or zooming while the exposure is being made. Note that you may end up with a repeating pattern of lines or multiple images of the neon sign. This is the case because they normally are flashing rather than being continuous in their output. They flash so quickly that our eyes can't discern the discontinuous nature of the light emitted by the sign. However, by moving the image of the sign over the camera's sensor during exposure the individual flashes will possibly become visible and add yet another exciting design element to the final photograph. You don't have to stop at neon signs either. Many subjects in a landscape also lend themselves for extended exposure photography. For preliminary experiments along this theme it is recommended that you find a colorful subject, such as a flower, set in a dark surround (although you might experiment in a bright surround and see what happens!) and approach it the same way as you might the neon signs. Note that when a medium tone or dark subject "bleeds", due to image movement) into a white area it essentially disappers into whiteness while blurring light toned subjects into dark areas makes them visible by contrast. Which approach you find most appealing is obviously a matter of personal choice and will be dictated by the effect you will be creating. In daylight conditions using long exposure times even at low ISO and aperture settings (as you might in dusk or naturally dark situations) will probably result in overexposed images. If you can not reduce the light level and you are getting overexposure consider using a neutral density filter of 1, 2 or even 3 stop strength or even a polarizing filter if you can't get your hands on a ND filter. Finally, as you examine the images in their original state you might notice that they seem to lack contrast and possibly have an overall veiling fog throughout. This is a function of the process as white tends to spill over into areas that are supposed to be dark in the image. Previsualization of the final results is hardly a possibility. I prefer to use the term "post-visualization" as the approach by which you will be selecting those exposures you will be working with further. Use basic image management tools, such as an adjustment of levels, to bring out the colors and the contrast in the images. This and further adjustments are highly subjective in their application to any specific image and it is now up to you to finish the image creation process. Remember that in this particular approach to making unique photographs the objective is to blur and note that there are no hard and fast rules about how to end up with a visually striking image but I am sure you will recognize it when you see it!
|