|
In Camera Masking
with a Sinar 4x5 view camera Andrew Davidhazy Imaging and Photo Technology School of Photo Arts and Sciences / RIT In Camera Masking (ICM) is a procedure that allows a photographer to place an image of an object into a background of interest without going to the expense of traveling to exotic location as long as a photograph of such a location is available to the photographer. 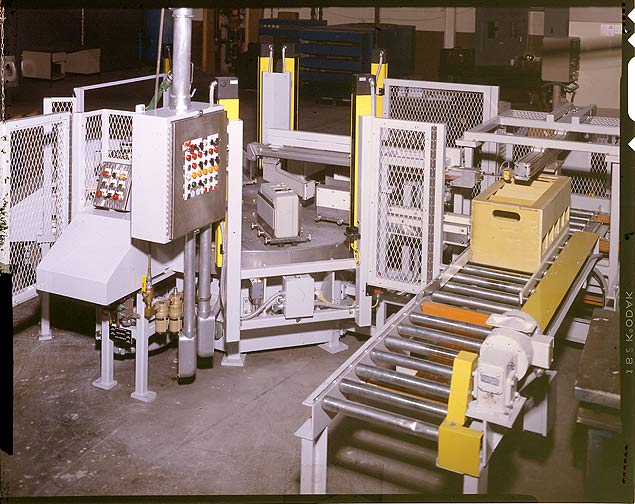 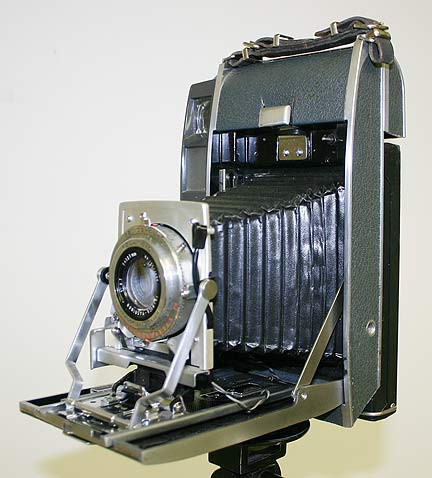
Figure
1
Figure 2
In this example, as shown in Figures 1 and 2, the objective is to place the image of the Polaroid camera into an industrial environment represented within the 4x5 transparency. The In Camera Masking procedure can be accomplished in various ways but for the frugal photographer with access to a camera such as the Sinar or similar cameras it is a technique that can be achieved with no additional investment in tools or equipment. Granted that there are commercially available devices that have certain advantages in terms of speed an possibly reliability but for the photographer operating on a shoestring the following step by step instructions should save funds better spent on other items than a commercial In Camera Masking (ICM) unit. 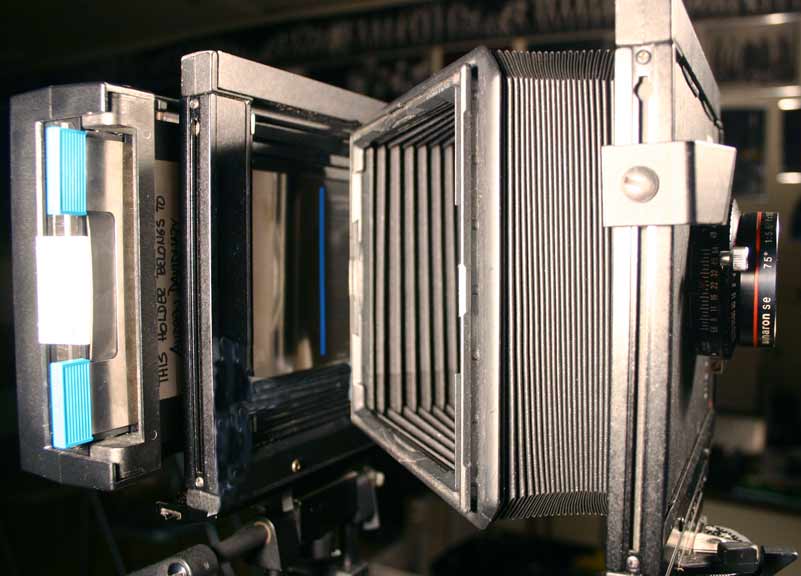

Figure
3
Figure 4
As seen in Figure 3. The capability of the Sinar camera of detaching the bellows from the rear standard or film holder assembly of the cameras is what makes the process so easy and affordable. After the subject is set-up in its location as shown in later steps of the process as shown in the illustration the bellows is detached from the back and the desired transparency of the location chosen by the photographer is inserted and lightly attached with tape, (upside down and reversed left to right) just in front of the film holder's dark slide. This is shown in figure 4. 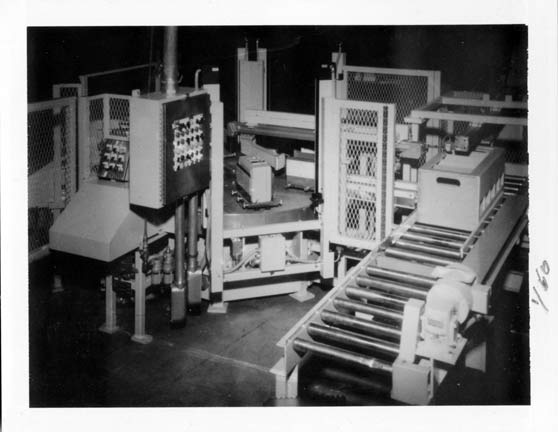
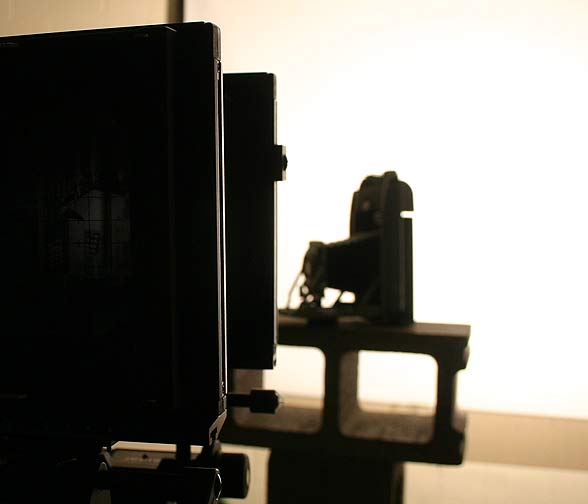
Figure 5
Figure 6
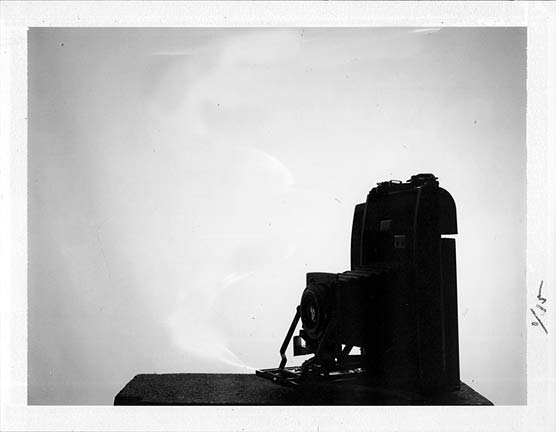
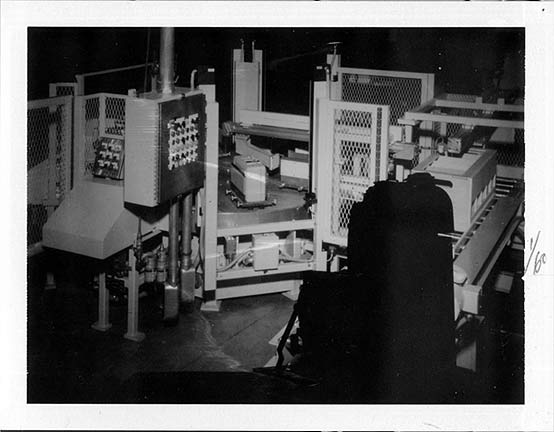
Figure 7
Figure 8
Next the subject is placed in front of the camera and it will be evident that it is now set up to be lit in silhouette as shown in Figure 6. The view through the camera (without the transparency in place) is seen in Figure 7. The dark slide is removed from in front of the film holder and the same scene is photographed this time with the transparency in place. This yields a result as shown in Figure 8. Wherever the background was white, the light casts a shadow image of those regions of the transparency onto the film behind it. But where the Polaroid camera is located the film records no exposure because the camera stops any light from getting to those areas of the film where it's image is located. The dark slide is reinserted after exposure to cover up the film. At this time the bellows is disengaged from the back standard and the transparency is removed. The dark slide then is again removed. 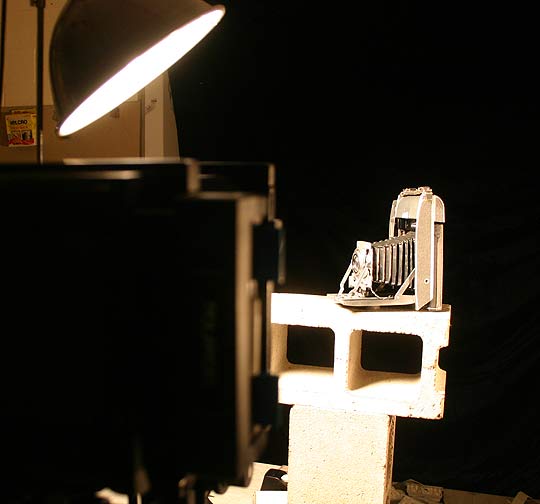
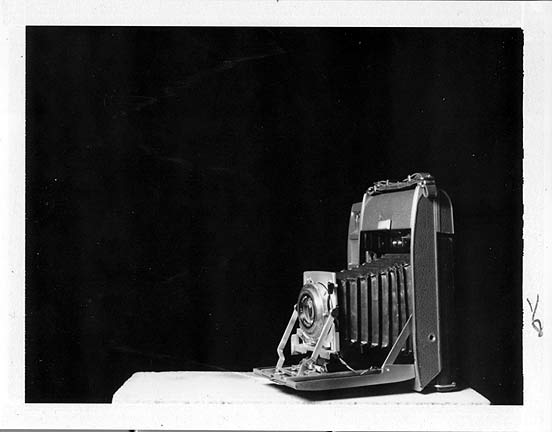
Figure 9
Figure 10
Now, without disturbing the camera, the background of the scene behind the camera is replaced with a black, light absorbing, material. Black velvet is best. As shown in Figure 9 the light illuminating the background is turned off and the camera itself is now lit according to the taste of the photographer but trying to avoid light falling on the black background. This is to ensure that even though black it does not cause any additional exposure to the film that would wash-out the previously recorded "contact print" of the transparency. Figure 10 is an illustration of what an exposure of just the camera against the black background would look like. The exposure for the camera is now determined by adjusting the exposure time and not changing the lens aperture from that which was used for the first exposure. The reason for this is that as the aperture is changed edge detail changes since depth of filed changes and for a good match between the successive images the edge characteristics of objects within the scene should remain constant. The shutter is recocked and fired. What this exposure does is to essentially fill in the unexposed areas that remained after the first exposure but without affecting areas that were previously exposed during that first exposure. 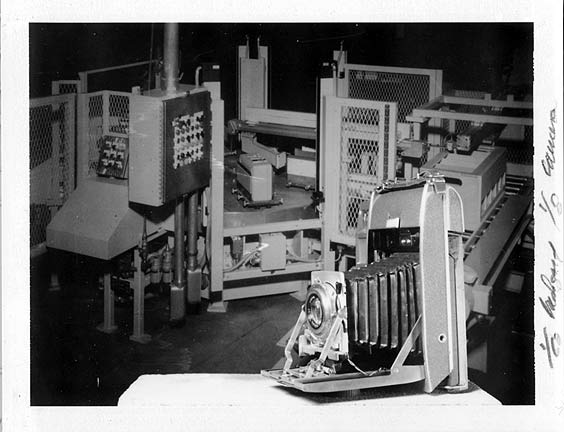
Figure 11
Finally, as you can see in
Figure 11, when the sequentially exposed film is processed
the result will be an image that depicts the subject (in this case the
Polaroid camera) located in an environment of the photographer's
choosing as if the subject had been in the depicted location. Of
course, to make the scene more believable the photographer would want
to make sure that the lighting direction and color quality is
consistent between foreground object and background subject. However if
a bit of visual "clash" is not objectionable sometimes it is even
desirable as it may add impact to an otherwise possibly dull image!
It is not necessary to have a transparency of a landscape or cityscape or any other real scene. The background can be an illustration drawn or otherwise prepared on some transparent support and it would then simply "act" as a transparency. If a back and white negative is use as the background and the photograph is made on color film interesting results may be achieved by a combination of monotone negative background with a full color object in the foreground. Your imagination can, or might, run rampant with possibilities. In Camera Masking is an interesting tool that any special effects photographer should have in his/her "bag of tricks". If you found this article of use or if you have any observations or questions about the porcess feel free to drop me a line through email. You can reach me at: Andrew Davidhazy, andpph@rit.edu |